")
Taking wallpaper off sounded very easy….. It wasn’t. We had to strip off the vinyl, then steam the glued on paper underneath, carefully scraping it off not damaging the walls. It took me a while to get the technique down but once I felt comfortable with it we put on one of my favourite crime podcasts and chipped away at it over a weekend and evenings after work for a week. It took way longer then I expected but I am finding they all DIY takes longer then I expect. I also had an allergic reaction to what I am assuming was the glue, not ideal.
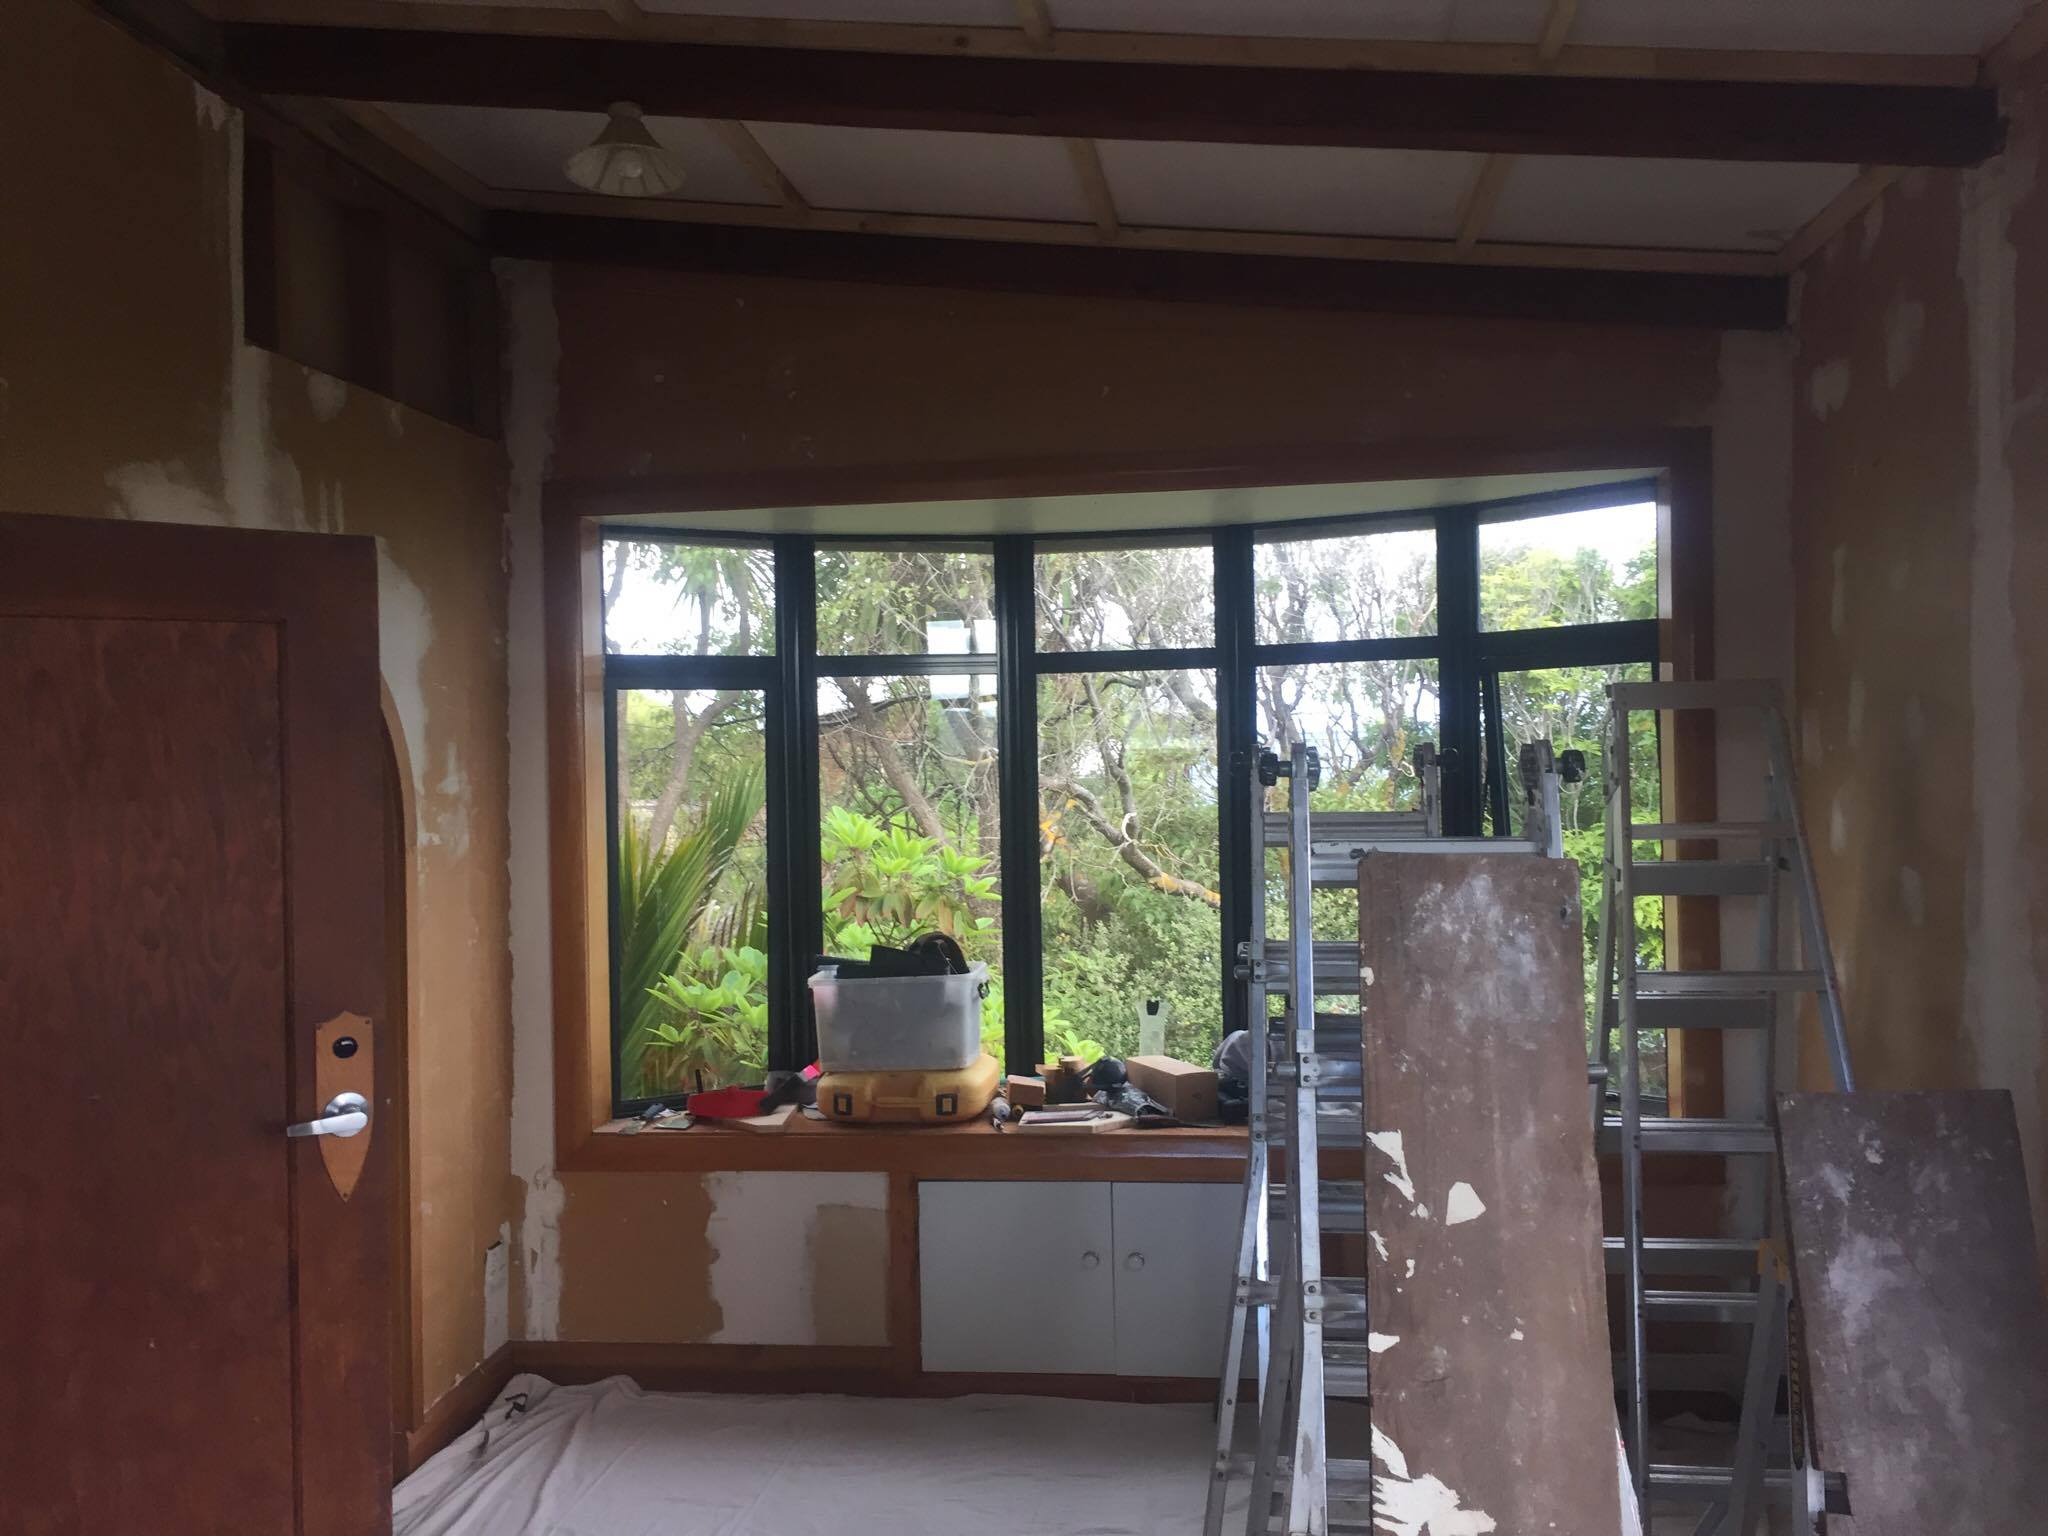
The doors under the bay window seat opened to an unused storage space, you could feel the draft coming out of it when we walked past so we decided to block it off.
You can see on the right hand corner what can only be described as an ‘awkward’ space. the shower is on the other side of the wall so there isn’t anything we can do structurally to the space. We thought about taking the wall up to the celling but that would involve changing light fixtures and a lot more work so we decided to leave it.
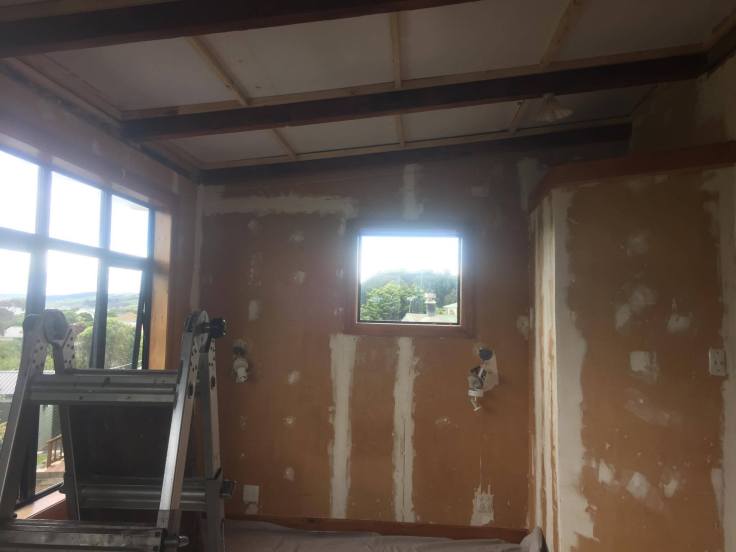
We also found that the gib on that corner was in a very sad state and needed to be replaced. We had to move some light switches around behind the bed, as it was they were right behind the bed head.
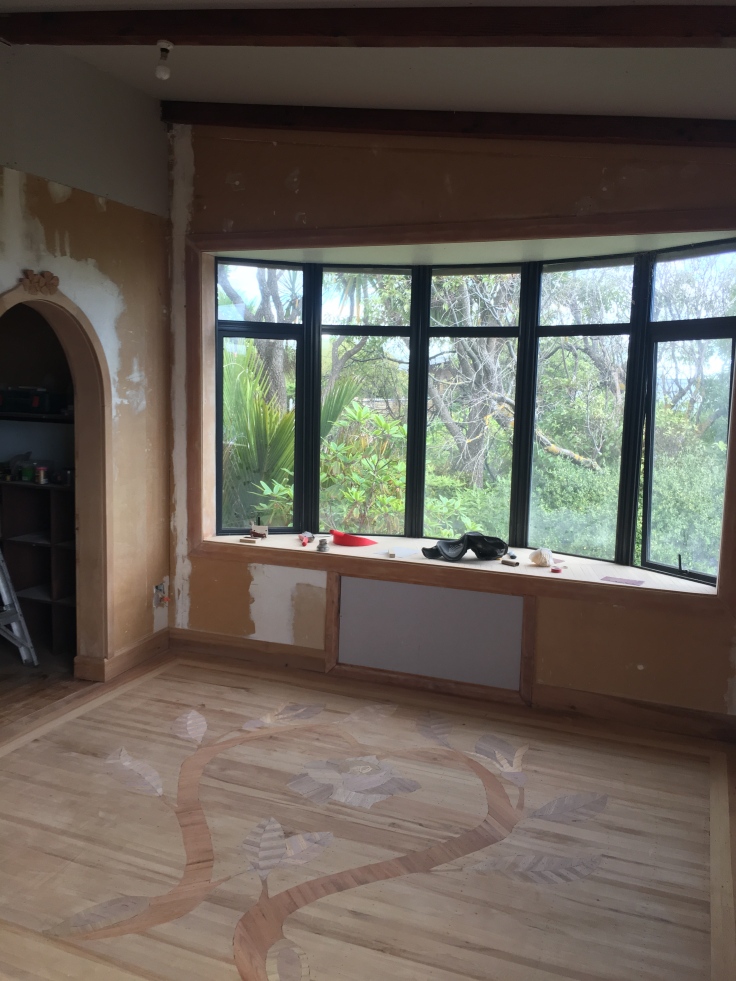
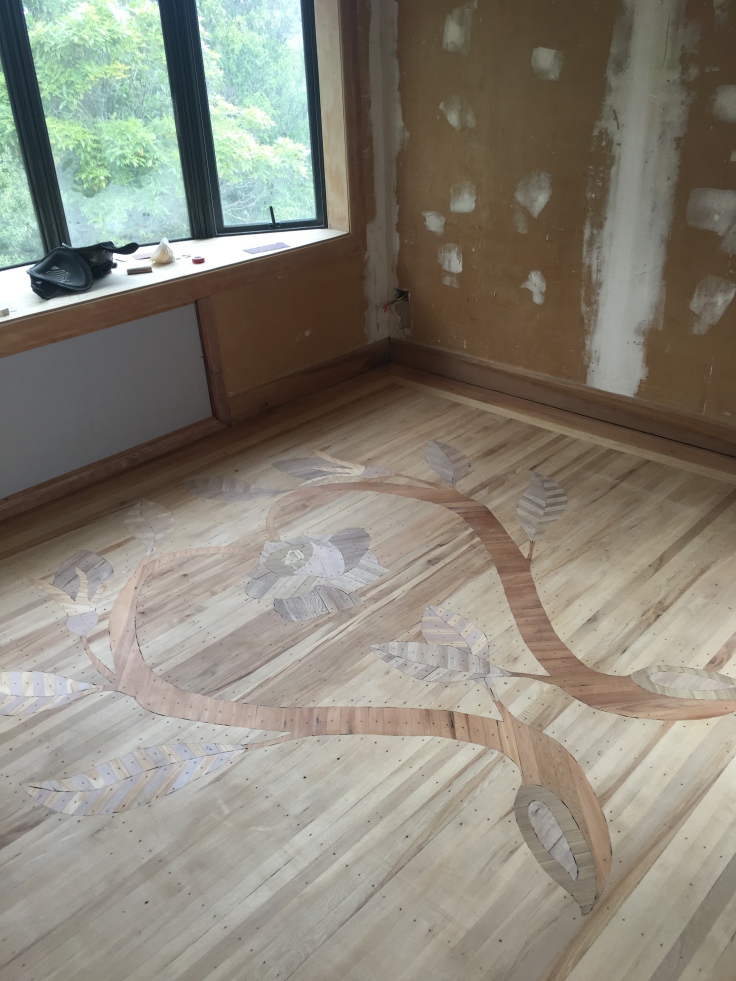
The house came with some incredible designs on the floors. I will be honest and say that a lot of it is not to my taste, but after sanding it back and putting a clear stain on it I have a new found appreciation for it.
We decided early that we weren’t going to attempt the gib stopping ourselves. It was a combination of wanting to do a good job and time availability. Sleeping on a mattress in the lounge is fun for the first week but it becomes a tad tedious after a month or so.


Impressive floor pattern, what and how do you do that!
LikeLike
The original owner did them! He designed and hand nailed similar images all over the floor in the house.
LikeLiked by 1 person
You guys lucked out with it, very cool!
LikeLike